The best rule of thumb for bloggers using images in their posts is:
Use JPGs for photographs, landscapes, and faces. Use PNGs for charts, graphs, screenshots and cartoons. Use GIFs only for animations, and sparingly.
As with all rules of thumbs, you should use your best judgment. You should aim to understand how these two image formats work so you can make the right decision.
JPEGs
 JPGs (JPEGs) are "lossy." That means they lose data. They literally throw image data away that they figure your eyes won't see. A good example would be a landscape with a large blue sky. The image format could hold all the detail of the blue sky, literally millions of pixels saying blue, blue, dark blue, darkish blue, sky blue...or it could say "this is a whole area of mostly blueish." Sure, some detail is lost, but for the most part, it's a big blue sky, right? When you save a JPG in your paint program (like Paint.NET) and there's a quality slider for the JPG, the lower the number the more data you'll throw away.
PNGs
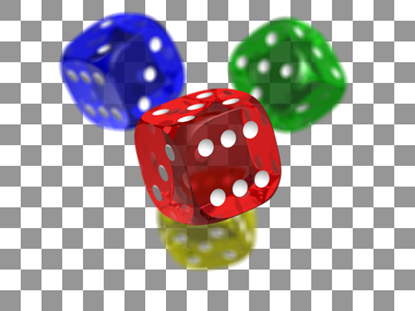
PNGs are "lossless." That means that they don't lose data when they are saved. They are more like ZIP files than like JPGs. PNGs also are known for their ability to have transparent regions. With a JPG you might have a white background, but a similar PNG could have a transparent background and be overlaid on other graphics.
Regardless of which one you choose, chances are that the paint app you use (even Photoshop) haven't removed all the unneeded data from your graphics files. Applications like PNGGauntlet or PNGOut can squeeze 10, 20, even 30% from a already-saved file without any loss in quality. This is especially important given the number of folks browsing on mobile devices. Bandwidth matters, and you do everyone a disservice with every one megabyte graphics file you upload to your blog.
I'm a huge fan of PNGGauntlet. There's also Trimage that optimizes JPGs and PNGs on Linux, and ImageOptim for Mac.
PNGGaultlet works HARD. It will turn your PCs fan on, I'm sure, as it works very hard. But PNGGauntlet tries all of PNGOUT, OptiPNG, and DeflOpt and picks the best result to create the smallest PNGs.
After you've got that blog post perfect, I recommend you add a "squish the graphics" step to your workflow. You'll only gain speed and happier readers.
Related Links
- Taking Proper Screenshots in Windows for Blogs or Tutorials
- Adding PNGOUT to the Explorer Right Click Context Menu
Sponsor: Many thanks to Izenda for sponsoring the blog feed this week. Please do check out their Intuitive Ad Hoc Reporting with Stunning Visualizations - Embed real time dashboards into your ASP.NET applications for easy, custom reports across all devices. Download a FREE TRIAL of Izenda Today!
© 2014 Scott Hanselman. All rights reserved.


![pnggauntlet-screen-a0eadac6[1] pnggauntlet-screen-a0eadac6[1]](http://www.hanselman.com/blog/content/binary/Windows-Live-Writer/9c8948447812_144F5/pnggauntlet-screen-a0eadac6%5B1%5D_280de89c-4165-49a3-a273-4f042318c182.png)


