I've blogged before on how to easily move WSL distributions between Windows 10 machines with import and export. I recently did a full fresh install of Windows 11 and wanted to bring my existing highly customized Ubuntu installation along with me.
You can tar up (zip up) the user-mode parts of your WSL2 distributions like this:
wsl --export Ubuntu-20.04 c:\Temp\UbuntuBackup.tar
The part after --export is the distribution name that you can see from running wsl --list -v. The last argument is a full path and filename for the archive you want created.
Next, on the machine you've moved to, you'll do the reverse. Notice that I've changed the Distro name here, and you can if you want. Remember also that you can have as many Linux Distros installed as you want.
wsl --import Ubuntu c:\Linux c:\Temp\UbuntuBackup.tar
The Linux file system is stored in a VHDX (virtual hard drive), usually deep in AppData/Local/YadaYada, but this import is an opportunity for me to store it in C:\Linux which will also make it easier to do maintenance on like Compact-VHD which shrinks your WSL2 disks.
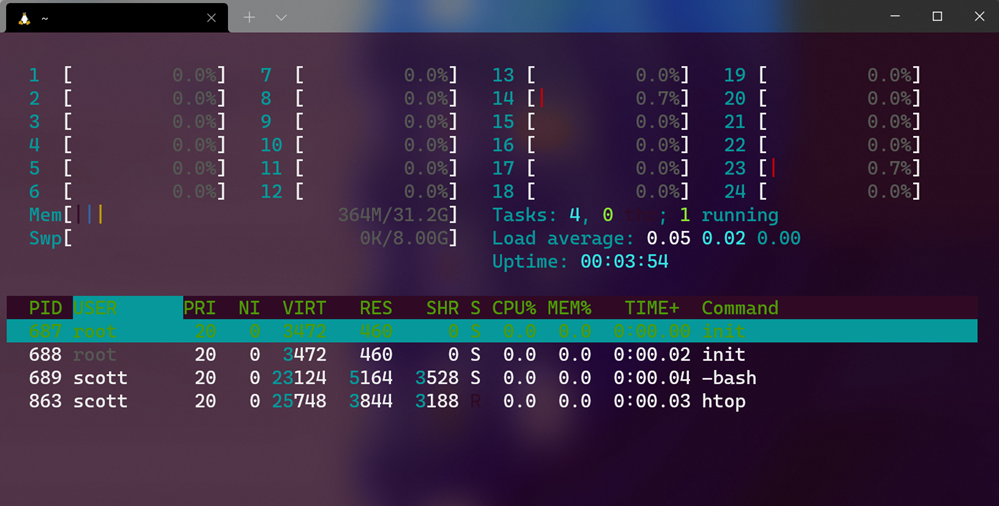
Here's the weird part. When you import a WSL2 distro manually, running that distro on the new machine will end up logging you in as root. It's forgotten that I'm "scott."
There's a lot of ways to fix this that involve the registry or passing in arguments to wsl, but I just want it to work when I run "wsl" or "wsl -d distroname."
Run your distro, and then edit /etc/wsl.conf and add a [user] section like this:
[user]

default=scott
This is the ideal way to set your WSL distro's default user for imported tars because it's stored inside the Linux file system and the setting will stick around when you export/import later on.

Hope this helps!
Sponsor: Lob APIs ensure your addresses are deliverable and everything you send arrives at the right place. Add address autocompletion and verification in minutes using React, Vue or Javascript - Try for free!
© 2021 Scott Hanselman. All rights reserved.


